


Wounded but not stopped: How to adapt your training without worsening the injury
Description de l'article de blog :
INJURY
6/19/202610 min read

You know that moment when you stand up, do a movement, and suddenly… it pulls, it pinches, it cracks. You think: "Maybe I should stop." But what if you didn't have to stop—just adapt?
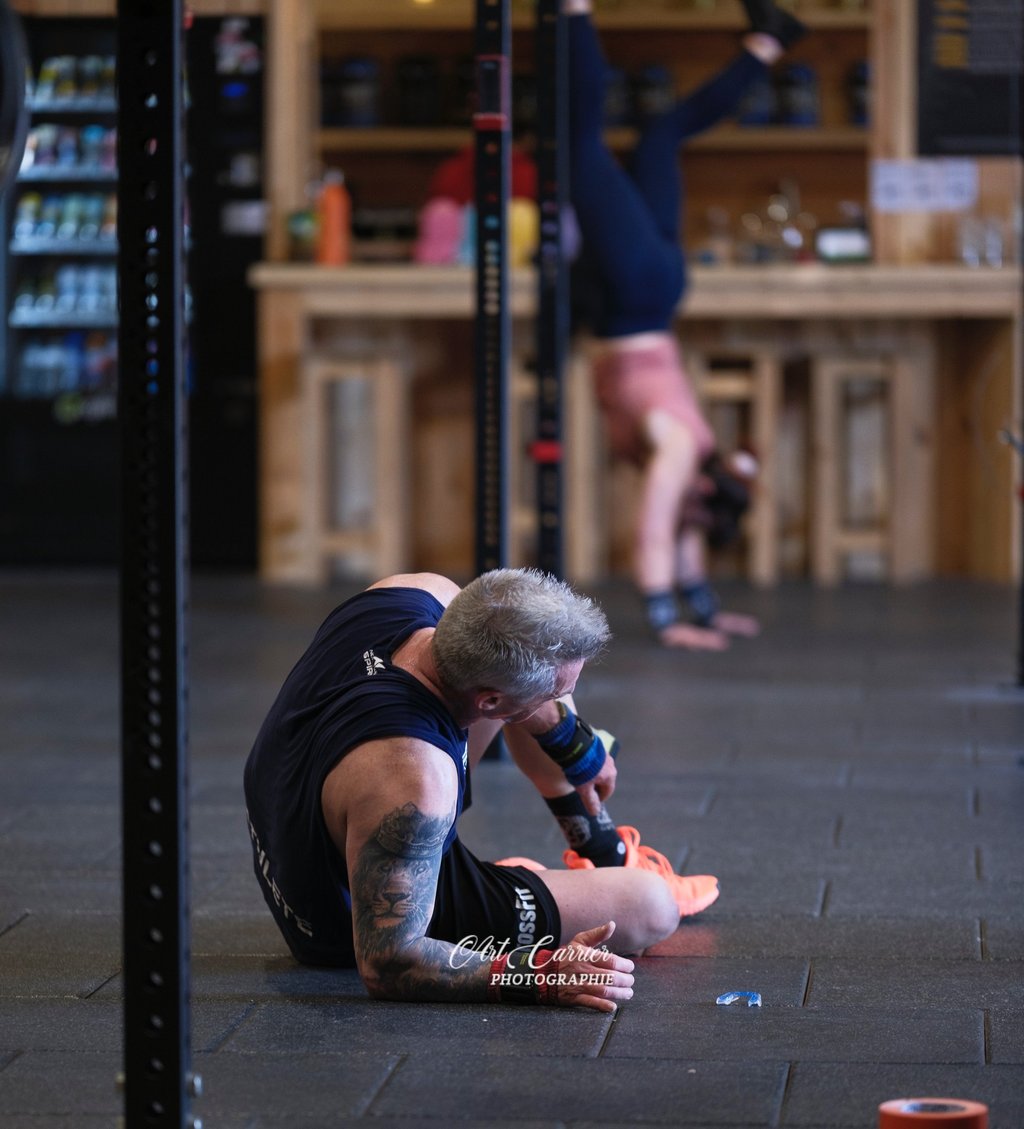
As a CrossFit Games and Rogue Invitational athlete, coach, and gym owner for over 10 years, I've seen (and endured) dozens of injuries. I've learned you can almost always continue training with an injury without worsening the situation. Movement isn't punishment; it can be a tool for recovery, progress, and health.
How to continue training with an injury without skipping rehab steps? Here, I'll share concrete, realistic, field-tested strategies.
1) Why You Don't Always Need to Stop Completely
The difference between discomfort, pain, and a warning signal
Not all pain requires total rest. You need to distinguish:
Mild discomfort: a slight tug, a sense of muscle fatigue.
Moderate pain: a precise point, a stronger but controllable sensation.
Warning signal: sharp, radiating pain that worsens quickly.
The goal is not to confuse acceptable pain with dangerous pain.
Movement must remain a tool for progress, not a test of courage.
Recent approaches in rehabilitation highlight that exercise can help reduce pain and improve recovery, especially when the load is well-adapted and progression is gradual.
Why movement can sometimes help you recover
When you move:
You improve blood circulation.
You maintain joint mobility.
You prevent muscle stiffness.
You preserve your overall conditioning.
Stopping everything—even with an injury—can sometimes slow recovery. This isn't "I do everything like before," it's "I do what's possible, safely."
Distinguish acute injury, chronic injury, and non-specific pain
Acute injury: recent, often after a specific event (e.g., shoulder after a heavy push).
Chronic injury: established over time (e.g., knee tendon that pulls every squat).
Non-specific pain: general discomfort, hard to localize, often linked to imbalance or poor loading.
The adaptation strategy will differ depending on the injury type.
2) Basic Rules Before Adapting a Workout
Do this before modifying your WOD.
Get the injury evaluated if necessary
If you feel:
sharp pain that worsens,
significant loss of strength,
inability to perform a usual movement,
pain that spreads,
consult a professional (physio, sports doctor, osteopath) rather than self-managing.
Respect the principle of progression
Return should never be:
"I test everything like before."
"I'll see if it passes."
But:
Start light (load, volume, range).
Observe the response (24h, 48h).
Progress gradually if everything stays stable or improves.
The basic rule: don't skip steps.
Use the right level of acceptable pain
The Pain Monitoring Model (0–10) is widely used in modern physiotherapy to guide progression during rehabilitation.
0–3: mild pain, generally acceptable.
4–5: moderate pain, monitor closely.
6+: severe pain, avoid or stop.
Simple rule:
If your pain exceeds 4–5/10 during exercise, or increases after the session, you're doing too much.
3) How to Intelligently Modify a WOD
An adapted WOD isn't a "worse" WOD—it's an intelligent one.
Adjust the load
Reduce load on movements that irritate the injury.
Examples:
Squat: go from 100 kg to 50 kg.
Push-up: do kneeling push-ups or bench press with tempo.
Goal: keep the stimulus without aggravating the injured area.
Reduce the range
Don't complete the full movement if the end causes a pull.
Don't go too deep if depth causes pain.
Examples:
Squat: descend to 90° instead of full squat.
Pull-up: avoid repeated impacts; prefer strict work or ring row.
This preserves the sensitive zone while still training the rest.
Change the tempo
Switch from a fast movement to a controlled one.
Slow down the descent phase (negative).
Avoid sudden direction changes.
Examples:
Box jump: replace with step-up at slow tempo.
Burpee: replace with step-back without touching the floor.
Replace the movement without removing the stimulus
The idea is to keep the same goal, but with a different movement.
CrossFit Substitution Examples
You can continue training with an injury without losing the stimulus—just change the exercise.
4) Which Body Areas Can Still Train
Often, people think an injury in one area means stopping everything. But in reality, you can train areas far from the injured zone.
Shoulder pain
You can:
Train legs: squat, run, step-up.
Train core: plank, abs, rotation.
Do light pulling if the shoulder doesn't cause discomfort.
Avoid: overhead, push, heavy extension movements.
Knee pain
You can:
Train upper body: push, overhead (if back is protected).
Do core and stability work.
Low-impact activities: light rower, bike (if tolerated), SkiErg.
Avoid: heavy squat, jump, box jump, deep burpee, run.
Lower back pain
You can:
Train legs with open movements (step-up, lunges).
Train upper body.
Avoid: deadlifts, heavy overhead, movements with spinal flexion.
Wrist pain
You can:
Use straps or DBs on the floor to avoid compression.
Switch to goblet squat.
Avoid: push-up, overhead, movements with wrist extension.
The goal is to preserve overall conditioning even with an injured area.
5) How to Know If You're Doing Too Much
Warning signals
You're doing too much if:
Pain increases during the session.
Pain remains high after 24h.
You have a clear loss of strength.
You notice a change in your movement (compensation).
24-hour pain tracking
Make a simple check:
0–3 at 24h: likely well tolerated.
4–5 at 24h: caution, maybe too much.
6+ at 24h: you probably did too much.
Rule: if pain is stronger the next day, you exceeded your body's limit.
Simple rule to know if the session was well tolerated
If you can return to normal activity the next day without marked pain, you probably didn't do too much.
6) The Role of the Coach and the Athlete
What the coach should observe
A good coach must:
See compensations (distorted movement).
Propose concrete adaptations.
Not let ego take control.
Reassure and explain that adaptation is normal.
What the athlete must communicate
The athlete must say:
Which area is injured.
Which movement is painful.
What pain level they feel.
How they feel after the session.
Clear communication is essential for gradual return.
Why ego often slows return
Ego says:
"I want to test, see if it passes."
Maturity says:
"I want to progress without worsening."
Continuing to train with an injury requires giving up testing and choosing to progress intelligently.
7) Concrete Example of an Adapted Week
Here's a mini adapted week for an athlete with pain.
You can continue training with an injury without losing form—just adapt.
8) Common Mistakes to Avoid
Return too quickly
Wanting to resume everything in 1 week.
Going from 0 to 100% immediately.
Wanting to "test"
"I'll test if it passes."
"I'll go a bit heavy to see."
Confusing courage and recklessness
Thinking "it's courageous" to force.
In reality, it's more courageous to adapt and progress slowly.
Stop all activity when adaptation is possible
Stop everything even when adaptation is possible.
Think total rest is always the best solution.
What if you could double your resilience by choosing to move intelligently, instead of stopping completely?
9) When to Consult a Professional
Consult if:
Pain is sharp and persistent.
You feel significant loss of strength.
You have an inability to perform a usual movement.
Pain spreads or radiates.
You don't know if you can continue training.
You must never make a definitive medical diagnosis yourself.
10) Conclusion
Being injured isn't being stopped. It's an opportunity for intelligent progress, maturity in movement approach, and resilience.
Key ideas to remember:
You can almost always continue training with an injury by adapting.
Acceptable pain is different from dangerous pain.
Progression must be light, observed, and gradual.
Coach and athlete must communicate clearly.
Ego is often the main obstacle to a cautious return.
Movement must remain a tool for progress, not a test of courage.
Check-list: I don't skip steps in my rehab
My pain is ≤ 4–5/10 during exercise.
My pain doesn't increase after 24h.
I don't compensate with another movement.
I can return to normal activity the next day.
I respect slow and safe progression.
Send us a message or consult our full guide to go further and discover how to adapt your WODs based on your injury, with precise plans and concrete substitutions.
You know that moment when you stand up, do a movement, and suddenly… it pulls, it pinches, it cracks. You think: "Maybe I should stop." But what if you didn't have to stop—just adapt?
As a CrossFit Games and Rogue Invitational athlete, coach, and gym owner for over 10 years, I've seen (and endured) dozens of injuries. I've learned you can almost always continue training with an injury without worsening the situation. Movement isn't punishment; it can be a tool for recovery, progress, and health.
How to continue training with an injury without skipping rehab steps? Here, I'll share concrete, realistic, field-tested strategies.
1) Why You Don't Always Need to Stop Completely
The difference between discomfort, pain, and a warning signal
Not all pain requires total rest. You need to distinguish:
Mild discomfort: a slight tug, a sense of muscle fatigue.
Moderate pain: a precise point, a stronger but controllable sensation.
Warning signal: sharp, radiating pain that worsens quickly.
The goal is not to confuse acceptable pain with dangerous pain.
Movement must remain a tool for progress, not a test of courage.
Recent approaches in rehabilitation highlight that exercise can help reduce pain and improve recovery, especially when the load is well-adapted and progression is gradual.
Why movement can sometimes help you recover
When you move:
You improve blood circulation.
You maintain joint mobility.
You prevent muscle stiffness.
You preserve your overall conditioning.
Stopping everything—even with an injury—can sometimes slow recovery. This isn't "I do everything like before," it's "I do what's possible, safely."
Distinguish acute injury, chronic injury, and non-specific pain
Acute injury: recent, often after a specific event (e.g., shoulder after a heavy push).
Chronic injury: established over time (e.g., knee tendon that pulls every squat).
Non-specific pain: general discomfort, hard to localize, often linked to imbalance or poor loading.
The adaptation strategy will differ depending on the injury type.
2) Basic Rules Before Adapting a Workout
Do this before modifying your WOD.
Get the injury evaluated if necessary
If you feel:
sharp pain that worsens,
significant loss of strength,
inability to perform a usual movement,
pain that spreads,
consult a professional (physio, sports doctor, osteopath) rather than self-managing.
Respect the principle of progression
Return should never be:
"I test everything like before."
"I'll see if it passes."
But:
Start light (load, volume, range).
Observe the response (24h, 48h).
Progress gradually if everything stays stable or improves.
The basic rule: don't skip steps.
Use the right level of acceptable pain
The Pain Monitoring Model (0–10) is widely used in modern physiotherapy to guide progression during rehabilitation.
0–3: mild pain, generally acceptable.
4–5: moderate pain, monitor closely.
6+: severe pain, avoid or stop.
Simple rule:
If your pain exceeds 4–5/10 during exercise, or increases after the session, you're doing too much.
3) How to Intelligently Modify a WOD
An adapted WOD isn't a "worse" WOD—it's an intelligent one.
Adjust the load
Reduce load on movements that irritate the injury.
Examples:
Squat: go from 100 kg to 50 kg.
Push-up: do kneeling push-ups or bench press with tempo.
Goal: keep the stimulus without aggravating the injured area.
Reduce the range
Don't complete the full movement if the end causes a pull.
Don't go too deep if depth causes pain.
Examples:
Squat: descend to 90° instead of full squat.
Pull-up: avoid repeated impacts; prefer strict work or ring row.
This preserves the sensitive zone while still training the rest.
Change the tempo
Switch from a fast movement to a controlled one.
Slow down the descent phase (negative).
Avoid sudden direction changes.
Examples:
Box jump: replace with step-up at slow tempo.
Burpee: replace with step-back without touching the floor.
Replace the movement without removing the stimulus
The idea is to keep the same goal, but with a different movement.
CrossFit Substitution Examples
You can continue training with an injury without losing the stimulus—just change the exercise.
4) Which Body Areas Can Still Train
Often, people think an injury in one area means stopping everything. But in reality, you can train areas far from the injured zone.
Shoulder pain
You can:
Train legs: squat, run, step-up.
Train core: plank, abs, rotation.
Do light pulling if the shoulder doesn't cause discomfort.
Avoid: overhead, push, heavy extension movements.
Knee pain
You can:
Train upper body: push, overhead (if back is protected).
Do core and stability work.
Low-impact activities: light rower, bike (if tolerated), SkiErg.
Avoid: heavy squat, jump, box jump, deep burpee, run.
Lower back pain
You can:
Train legs with open movements (step-up, lunges).
Train upper body.
Avoid: deadlifts, heavy overhead, movements with spinal flexion.
Wrist pain
You can:
Use straps or DBs on the floor to avoid compression.
Switch to goblet squat.
Avoid: push-up, overhead, movements with wrist extension.
The goal is to preserve overall conditioning even with an injured area.
5) How to Know If You're Doing Too Much
Warning signals
You're doing too much if:
Pain increases during the session.
Pain remains high after 24h.
You have a clear loss of strength.
You notice a change in your movement (compensation).
24-hour pain tracking
Make a simple check:
0–3 at 24h: likely well tolerated.
4–5 at 24h: caution, maybe too much.
6+ at 24h: you probably did too much.
Rule: if pain is stronger the next day, you exceeded your body's limit.
Simple rule to know if the session was well tolerated
If you can return to normal activity the next day without marked pain, you probably didn't do too much.
6) The Role of the Coach and the Athlete
What the coach should observe
A good coach must:
See compensations (distorted movement).
Propose concrete adaptations.
Not let ego take control.
Reassure and explain that adaptation is normal.
What the athlete must communicate
The athlete must say:
Which area is injured.
Which movement is painful.
What pain level they feel.
How they feel after the session.
Clear communication is essential for gradual return.
Why ego often slows return
Ego says:
"I want to test, see if it passes."
Maturity says:
"I want to progress without worsening."
Continuing to train with an injury requires giving up testing and choosing to progress intelligently.
7) Concrete Example of an Adapted Week
Here's a mini adapted week for an athlete with pain.
You can continue training with an injury without losing form—just adapt.
8) Common Mistakes to Avoid
Return too quickly
Wanting to resume everything in 1 week.
Going from 0 to 100% immediately.
Wanting to "test"
"I'll test if it passes."
"I'll go a bit heavy to see."
Confusing courage and recklessness
Thinking "it's courageous" to force.
In reality, it's more courageous to adapt and progress slowly.
Stop all activity when adaptation is possible
Stop everything even when adaptation is possible.
Think total rest is always the best solution.
What if you could double your resilience by choosing to move intelligently, instead of stopping completely?
9) When to Consult a Professional
Consult if:
Pain is sharp and persistent.
You feel significant loss of strength.
You have an inability to perform a usual movement.
Pain spreads or radiates.
You don't know if you can continue training.
You must never make a definitive medical diagnosis yourself.
10) Conclusion
Being injured isn't being stopped. It's an opportunity for intelligent progress, maturity in movement approach, and resilience.
Key ideas to remember:
You can almost always continue training with an injury by adapting.
Acceptable pain is different from dangerous pain.
Progression must be light, observed, and gradual.
Coach and athlete must communicate clearly.
Ego is often the main obstacle to a cautious return.
Movement must remain a tool for progress, not a test of courage.
Check-list: I don't skip steps in my rehab
My pain is ≤ 4–5/10 during exercise.
My pain doesn't increase after 24h.
I don't compensate with another movement.
I can return to normal activity the next day.
I respect slow and safe progression.
Send us a message or consult our full guide to go further and discover how to adapt your WODs based on your injury, with precise plans and concrete substitutions.


BLACK CHAPTER
PROGRAMMING
From shadows to light.
Online Programming.
Individualized Coaching.
CONTACT
OUR PARTNERS
FOLLOW US
©2026 Black chapter programming. Tous droits réservés.